How To Build An Iron Gate For Your Dream House
 Jul 19, 2022
 Admin
465 view(s)
Admin
465 view(s)
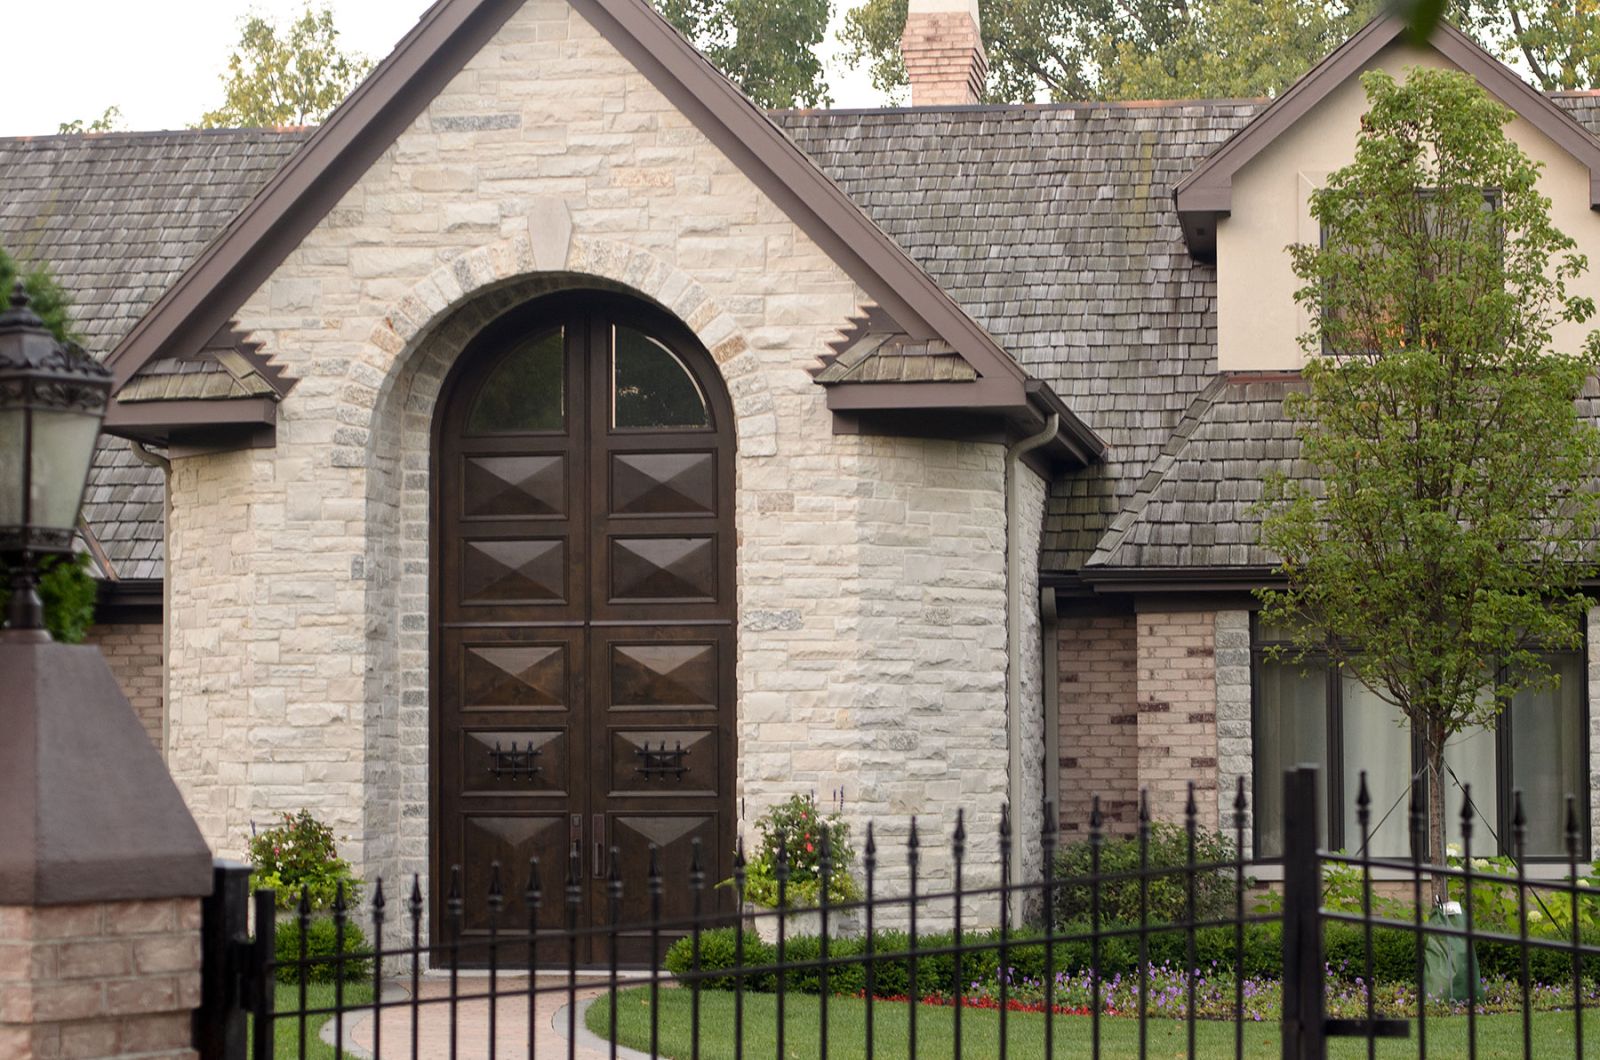
The first thing anyone sees when they arrive at your dream home is the Iron gate that guards your property. As such, it is extremely important that your gate looks as stunning and sublime as your wonderful home.
So you may be wondering, what are the steps involved in building an iron gate? How can I ensure that my gate creation is both aesthetically and structurally successful? What else do I need to know before I start?
Let us answer all these questions as we jump into the key steps involved in building your iron gate.
Step 1: Measuring
The first step is to measure the opening for your gate and determine how wide and high you need the gate to be. You should also consider the hinge locations, and door swing area and if your gate uses a floor bolt, then you need to consider its location also. Remember to follow the handyman code of measuring twice to ensure accuracy.
Step 2: Design
Get inspired by other designs you have seen and create something magnificent and elaborate as per your own style and taste. Draw it out with the measurements and create your own dream gate design. If hiring a qualified custom gate maker then you can get a bit crazy with the concepts but if you are handling it yourself then you should keep it as simple as possible.
Step 3: Materials
Check out the local suppliers and get all the materials that you need for the project. Overestimate your materials so that you do not fall short and make sure that you check the delivery time so you know when to expect the materials, how long you need to store them, and when you can start your project. If hiring someone to do this for you then you may just want to check what they have purchased vs what you are wanting to build.
Step 4: Construct
Now is the time to put it all together. Follow your design and plans, cut everything to the right size, and lay it out together so that it forms the structure of your iron gate. For bends in the metal, you may need specialist equipment or a torch, hammer, and anvil.
Check that everything has the right angle curve or length and then move on to step 5.
Step 5: Clamps
Your iron is laid out how you want it to look but it has not yet been fastened together or secured in any way. This is the next step. Get yourself some high-quality clamps that can hold the metal together and make sure that once you have clamped everything that nothing has budged or moved out of the spot where it is supposed to be.
Step 6: Weld
This is where the welding starts. Only do this if you have sufficient welding experience as this can be dangerous for anyone who does not know what they are doing. Start with small welds also known as tacking and then once everything looks right you can finalize the connections with stronger welds that will make your iron a permanent and formidable structure.
Once everything is strong and sturdy go back and clean up the welds with a hand grinder so you can smooth off any rough sections and sand it down until it all looks pretty.
Step 7: Inspect
You are done! Or are you? Of course, as with any project, there is one last step.
Give every part of the iron gate a thorough inspection and check its aesthetics, stability, durability, and functionality so that you can make sure that it is everything that you want it to be and that everything meets your standards. At this point, you have a completed gate and can feel free to paint it and install it as you see fit.
How to Make it Easier
Whilst this is a project that some may choose to take on themselves, it is no easy task to create a beautiful iron gate creation. Consider getting some help and hiring someone with great experience in this sort of welding, design, and construction.
Not only will this relieve you of the workload but it will also give you peace of mind knowing that it is being handled by an expert.
LATEST BLOG
- Why are Monarch Pumps best in the market May 11, 2023
- Dumpster Placement: Minimizing Impact and Maximizing Efficiency May 07, 2023
- How Much Does It Cost to Move a 2-Bedroom Apartment in Inner West Sydney? Apr 24, 2023
- What Are The Top 5 Types of Pull up Banner to Use? Apr 17, 2023
- How Does SEO Helps Business Grow Apr 10, 2023
Post Comment